Lake View Catio Design

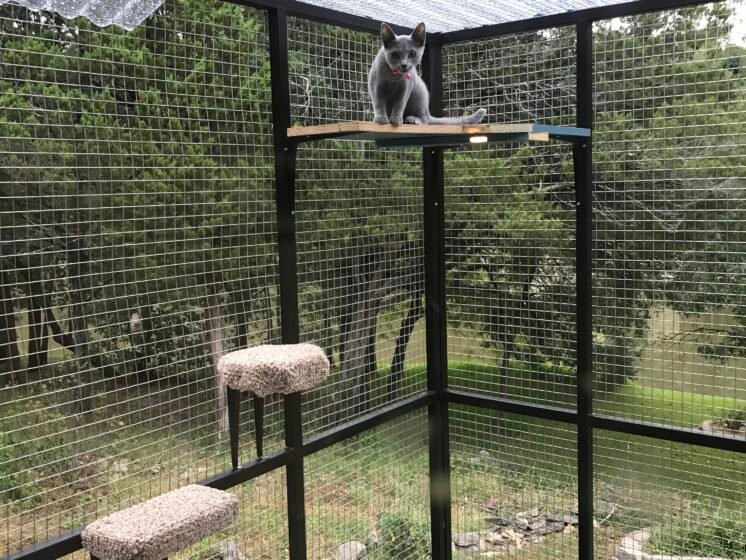
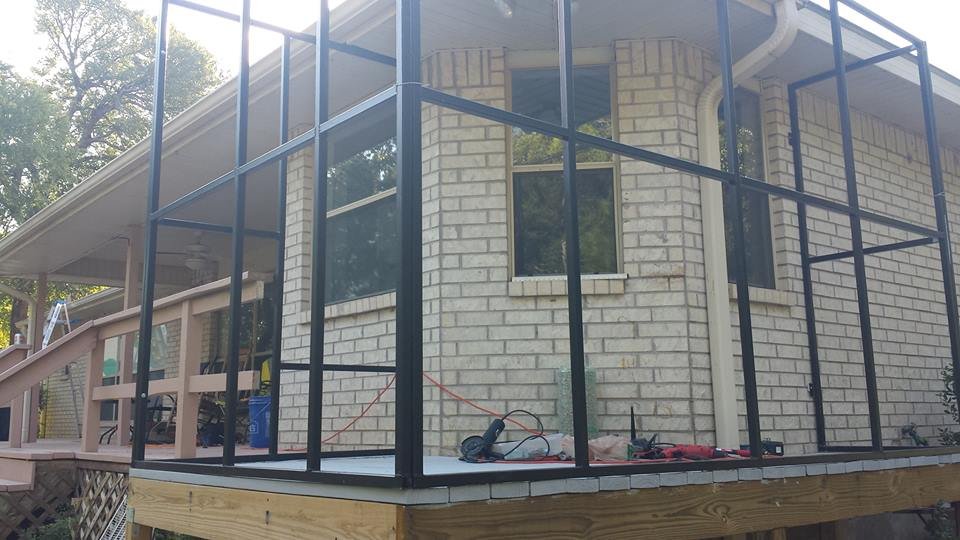
Once we decided to build our own back porch catio I created a simple working drawing with dimensions. It needed to be large enough for a person to step inside to arrange accessories, clean, and enjoy the cats. I took careful measurements of the footprint area on the back porch deck including length, width, and height. There would be two doors, one for the cats to pass through and one for us. I removed the porch rail where necessary so the catio would come to the edge of the wooden deck. The pet door was under one of the dining area windows which took about 1.5 feet square of wall space. We chose the Microchip Cat Door made by Sureflap designed for cats and small dogs. The large swinging door for us humans would face the back porch for easy entry. Since the frame was going to be welded structural steel tubing it would be heavier than wood and difficult to handle in large sections by myself. I decided to build it in sections that could easily be bolted together in widths that would accommodate 24 or 36 inch steel mesh wire. The height from the back porch deck to the roof overhang was about 7.5 feet although the roof only covered about half the total floor area. This allowed plenty of head-room so we didn’t have to stoop and bang our noggins while inside the catio.
Shopping for metal materials and welding tools was a new experience for me. I had always wanted to try my hand at arc welding. We didn’t want to spend a lot of money on the project so I shopped for an inexpensive electric arc welder as I couldn’t find anybody that had one to loan me. I settled for a simple 70 amp model from Harbor Freight for about $100 dollars. This was the bare minimum to weld .065 steel per the specifications. Along with the welder I had to purchase a helmet, gloves, apron, welding rods, magnet guides, power circular hand grinder, and a few other miscellaneous items which came to about $100 dollars. If I had hired someone to weld it would have cost much more than $200. The next step was to find a reasonably priced supply of structural steel tubing. The size I settled on was 1.25 inches square, .065 inches thick – also known as ‘HSS : hollow structural sections’. I quickly discovered that going on-line to shop for HSS was expensive, and delivery was not included. There was a steel supply company just off the highway on the way to work so I decided to give them a call. I was sure to research exactly what I needed and how much before calling them. Based on my drawings I needed about 120 linear feet of tubing. By shopping around I was able to pay less than half of what I would have paid to the on-line sources, and delivery cost was included because it was only a few miles away. The order was delivered to my driveway from a large truck with a forklift on the back in 20 foot lengths! The steel wire mesh we chose for the catio was 1 inch square 16 gauge welded wire. I bought a 36 inch x 100 foot roll on-line from Walmart since I couldn’t find it in-stock anywhere. It was delivered a few days later and cost about $120 dollars.

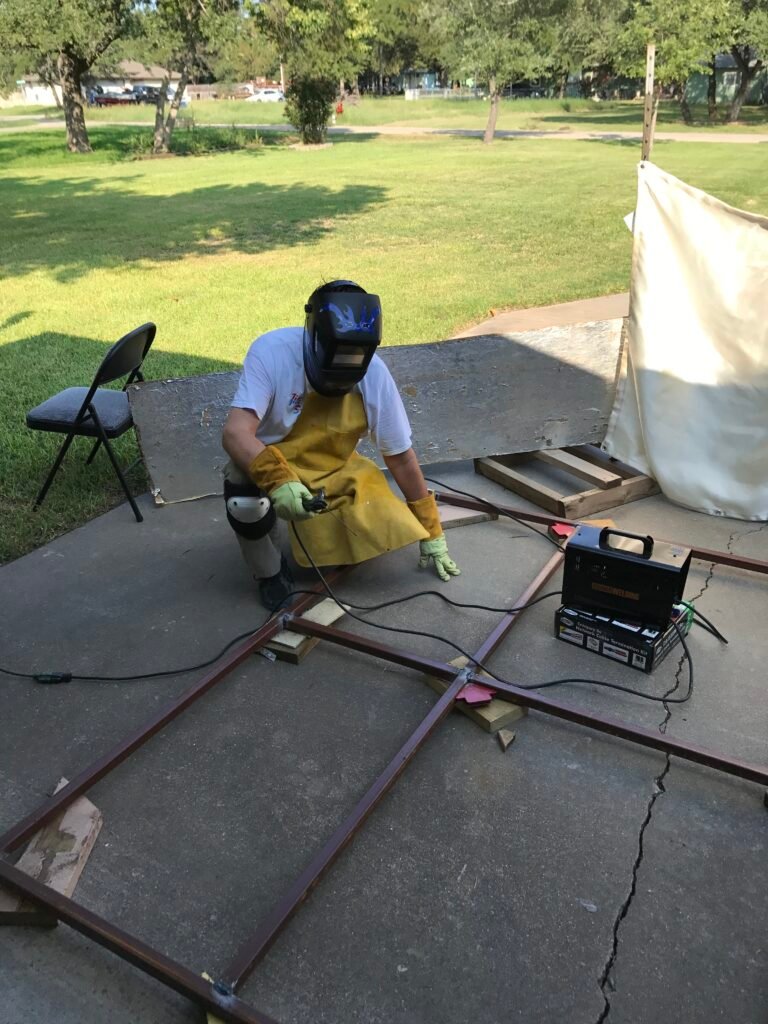
It took a couple of days to teach myself how to weld. Using an inexpensive 70 amp arc welder didn’t help matters but with some YouTube videos and patience I was able to make decent welds. We had a large driveway which helped as the staging and assembly area. I cut the steel to the desired length then laid it out a section at a time for welding. Keeping it straight and square was the hardest part, besides trying to achieve a nice even bead welding. From start to finish the welding took about 20 hours, but I enjoyed it just the same. Installing the electronic pet door was also a challenge since I had to pass through the exterior brick wall. We placed it about 6 inches off the floor under a window in the dining area. We determined that there wasn’t any plumbing or electrical issues in the way and cutting into a 2×4 wall stud wasn’t a structural issue under a window. I discovered that the distance from the inside to outside was farther than my estimate of 7 inches; it turned out to be more like 9 inches from interior sheetrock to exterior brick. Purchasing additional pathway extensions for the pet door were necessary to allow for the distance. If you have never tried to cut a hole through a brick wall it can be a little scary- it’s important to have the right tools. I used a powerful electric drill with ½ inch extra long masonry bit for the pilot holes, a Dremel 3 inch saw with masonry blade, and a large cold chisel. The pet door comes with a template so I used it to start my hole from inside the home, going through the sheetrock, then the exterior plywood, then through the brick. I drilled about a dozen pilot holes through the brick, then connected them with a marker on the outside of the brick. Next I used the small Dremel saw to make a shallow ½ cut along the line to begin cutting the brick. Lastly I used the cold chisel and carefully started in the middle working my way out to the cut line. This technique took about an hour but the results were satisfying.
Next: Assembling the Catio
